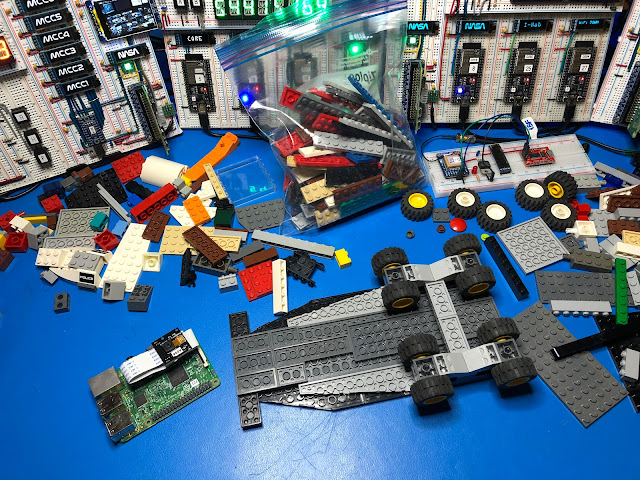
I was looking at my inventory of development boards and found that I had an extra Raspberry Pi 3B with the camera module. The camera is one of the early versions featuring the OV5647 image sensor.
I thought "I can use this setup to create another DTN node for the Lab prototype, what about a Moon Rover ?"
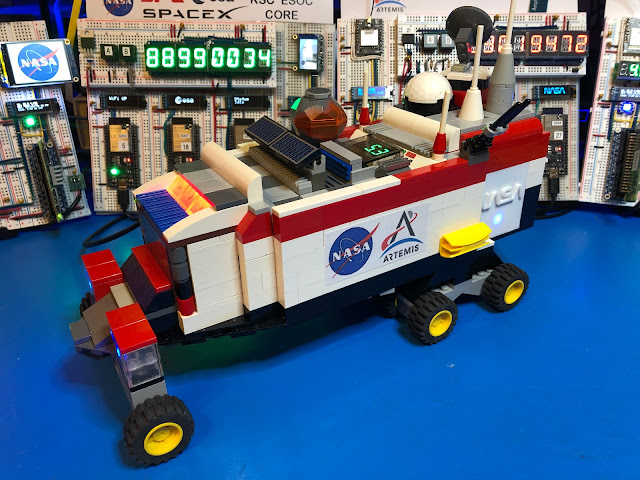
At first, I was thinking just to keep it in its original plastic case but then I realized that we have a bunch of Legos that our kids are not using anymore, so how about putting something together that looks like a lunar vehicle and can fit the Raspberry Pi, the camera and why not some lights and a battery.
Obviously, this model is just something I put together with what I had at hand, nothing that looks like a real rover or some of the Lunar vehicles under development like the JAXA/Toyota “Lunar Cruiser” for the Artemis mission.
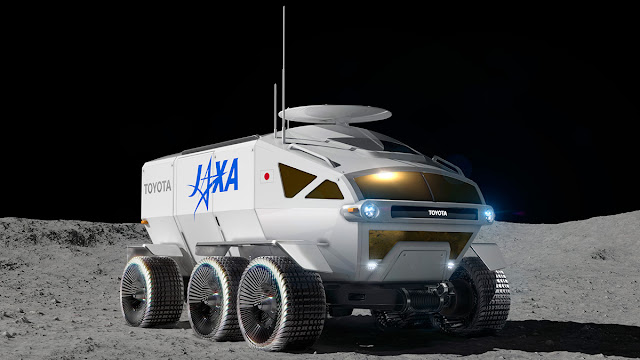 |
| Picture Courtesy of JAXA |
I was thinking about using one of the Lego design tools, but that was an overkill for this project. This could be a good idea for putting a contest or challenge together for students to design a Lego Lunar Rover that can accommodate the Raspberry and the camera.
A Raspberry Pi Zero W 2 would also work and will take less space, but they are currently in short supply.
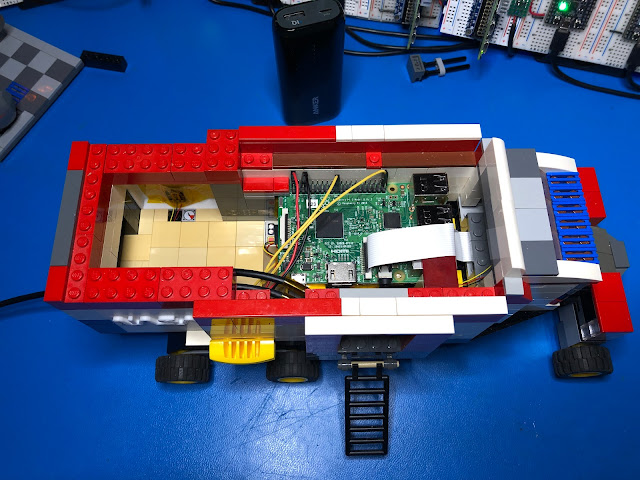
I had to figure how to wire the Neopixels for which I used two channels on the Raspberry Pi, one on GPIO10, and the other one on GPIO21. Since I didn’t want to overload the onboard 3.3V power supply on the Raspberry Pi, I added an LDO regulator (Microchip TC1262) to get the 3.3V for the Neopixels directly from the 5V power supply.
I used wirewrap wire, and two small pieces of prototype pcb.

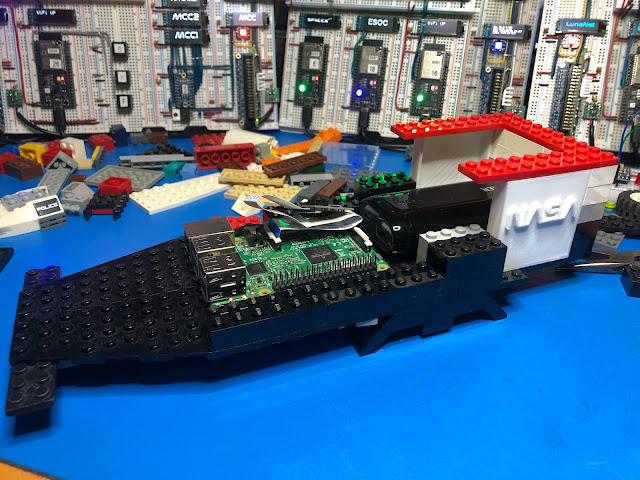
Quick test to confirm everything was working and putting the Raspberry Pi in place, connecting the camera flat cable and closing up.
Here is how the complete model looks from the left side
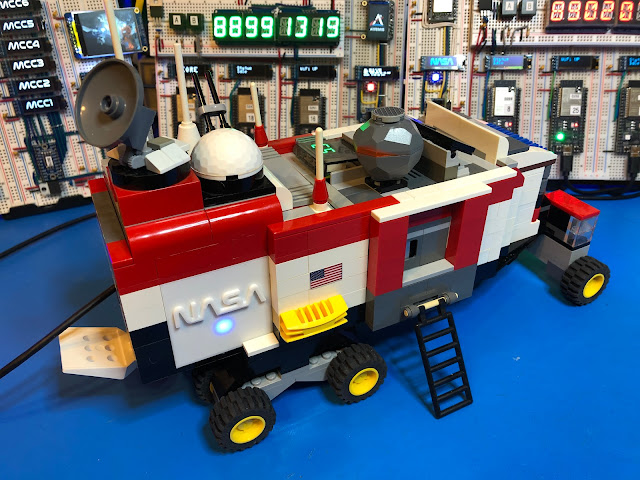
Right side look
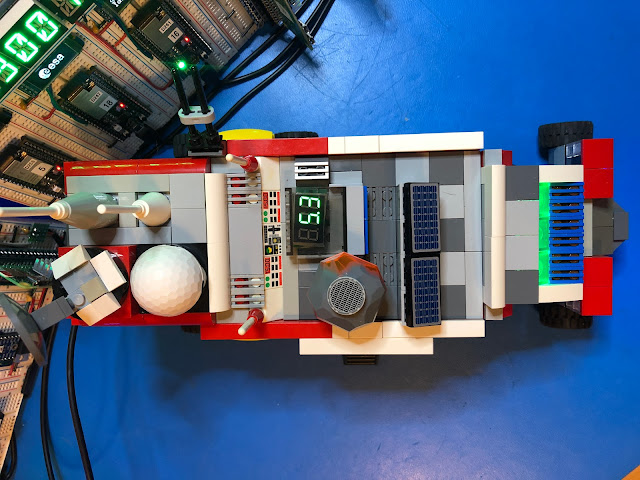
And the top, with a last-minute addition, a volt meter to measure input/battery voltage.
Connecting via VNC. Only thing that I was required to do to make it work was to enable the Camera interface with raspi-config, after that took the very first picture using raspistill.

My plan is to write a script using Pyion to wait for a command to start taking pictures, store them in some spool directory and then wait for another command to start transferring them to a DTN relay with final destination, one of the nodes that have a TFT LCD display to show the images captured by the rover. All transfers using NASA’s JPL ION implementation of Bundle Protocols.
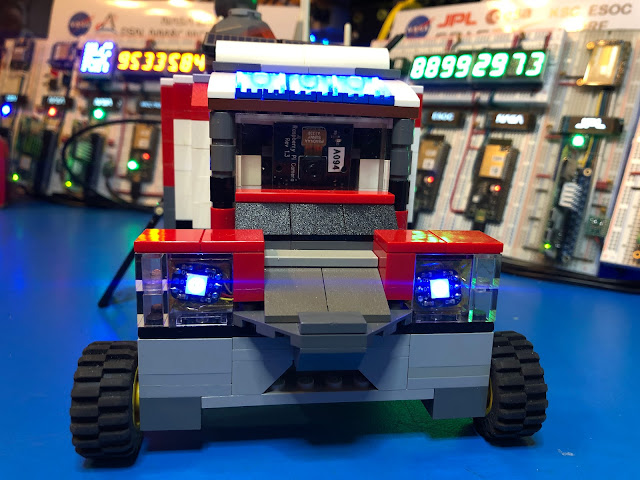
And of course, there is a video with a walk through and the blinking lights 😊
Once again if you are interested to learn more about this project, DTN and InterPlanetary Networking you can join the Facebook Group I created, and you can also join IPNSIG (ISOC InterPlanetary Networking Interest Group.)
Cheers
Jorge
No comments:
Post a Comment